Showing posts with label Grain FREE. Show all posts

Thursday, August 29, 2019

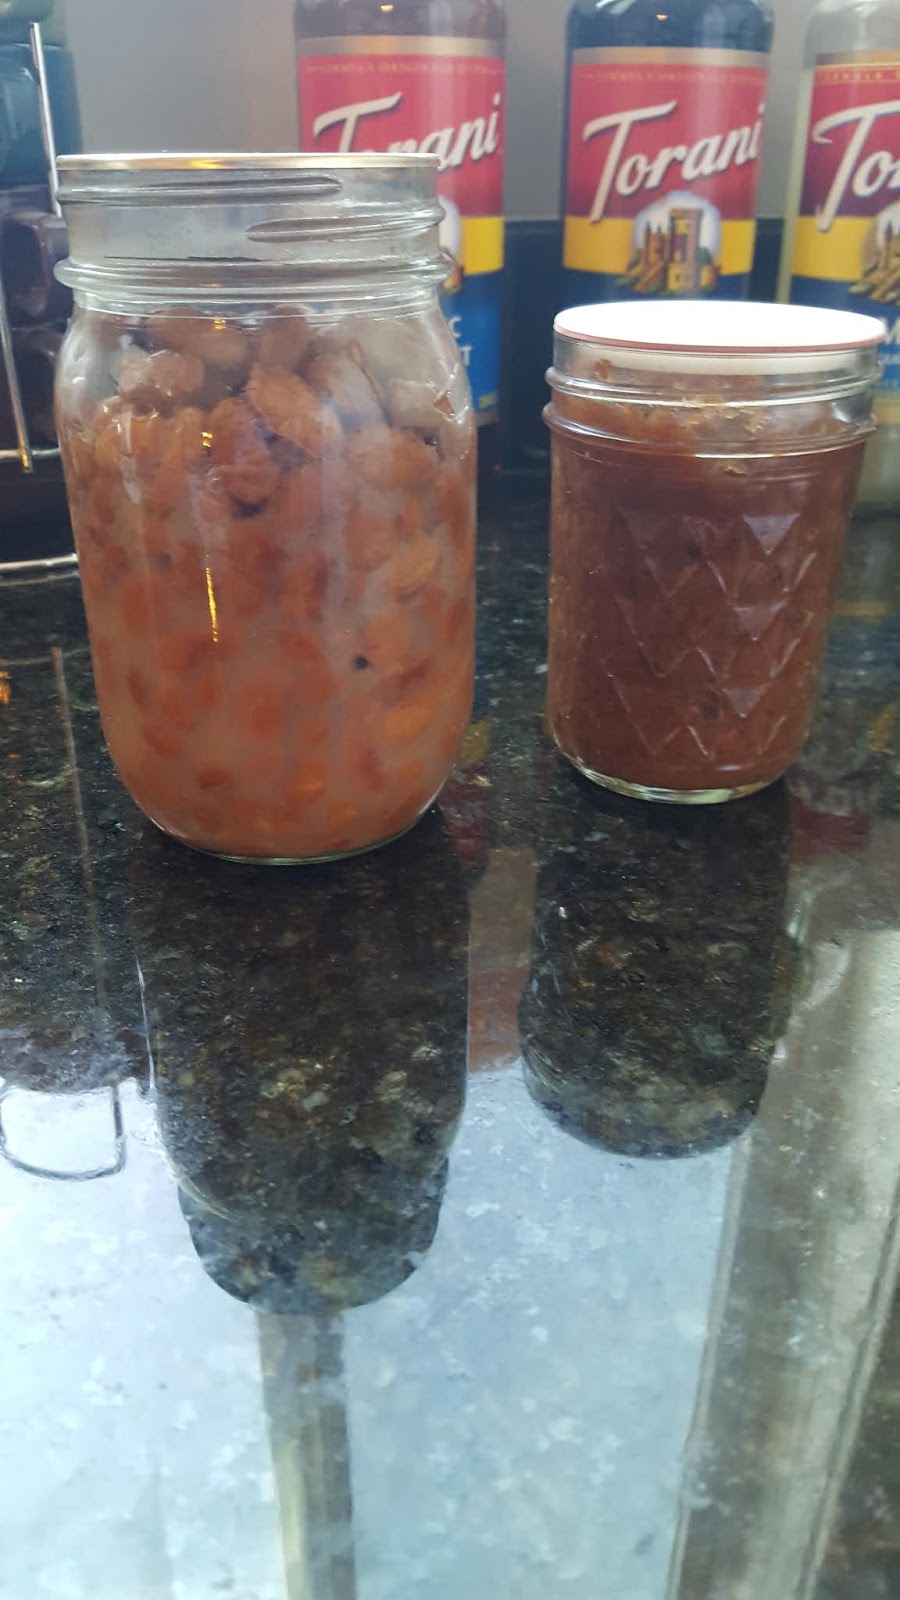
SEPTEMBER CHALLENGE: Can 2 different things each week

So I am sitting in the passenger seat,  on our way to my kiddos wisdom teeth appointment. I was thinking..which is hard at 6am, and I decided a challenge must be met.

September's challenge? To can a minimum of 2 different items per week.  This won't be difficult as there is plenty to can:

apples: sauce,  pie filling, butter
pears
peaches
jams: peach jam,  pear butter, mixed fruit
chicken
beans: black,  white,  cannellini, garbanzo,  etc
broth
hamburger (yup, I like it,  so easy on a rushed night to grab a can of hamburger)
pumpkin: chunks only
beef
pork
fish (you may,  I won't be)
chili


I love canning,  all my jars filled with yummy stuff.  I have been bad with canning,  I was working,  plus grief,  depression and a nagging infection.  I have been dragging since the little guy and I were sick in December and January, now I know why. That darned nagging infection is now being dealt with,  as I didn't know I had it. No worries,  I am NOT contagious.

Do you accept the challenge? Get stuff in your jars!  What counts? Freezer jams, water bath canning and pressure canning, dehydrated fruit or veggies in a jar.

What does not count? Dry pasta in a jar,  rice in a jar,  dry beans in a jar,  store bought dried fruit in a jar.

If possible dehydrate some pears,  peaches,  apples,  bananas and fruit leather.  These are great in lunches,  just a couple pieces. And,  are pretty in a jar,  but keep them protected from light!

So there it is, the September challenge.  Who will join me? PLEASE leave a comment if you are joining in.


Sunday, November 18, 2018

CROCK Pot Or INSTANT Pot Challenge Week #3

Well, hello.. um, I've been using my instant pot this week and .. um.. forgot to post !!  WOOPS!
November 16th I went grocery shopping, and I was able to get more eggs, hurrah, as we are out. 
BUT when I got home I immediately put 18 into my 6qt instant pot in a collander, added 1 cup cold water, and place the lid and steamed them for 3 minutes, then natural release for 10 minutes. Then plunged them into  ice water to stop the cooking, and ate the one that cracked. WHILE the instant pot was working I was able to separate out 6 pounds of ground turkey for future meals.

November 18  Well today we are doing a baked potato bar. BUT I need my oven for the bacon. So I will be using my instant pot to "bake" some russet potatoes. This is so easy, and they taste good.. and the skin stays soft so it is edible.
 Put your open flying saucer into the bottom of inner liner. Add 1 cup of cold water. Place spuds onto the flying saucer. Close lid and steam for 12 to 15 minutes. Let natural release for 10 minutes, sometimes more. Then open and serve.
They were delicious with optional toppings of chili, cheese, chicken, bacon, and ranch. Served with a side salad. DELICIOUS.
Well, in order to have fridge space for Thanksgiving, I think we will be eating leftovers for a few days. But I will be making potatoes in the instant pot for Thanksgiving, rolls, and a ham. We do it potluck style here so the kids each make something to add, and we are having family coming from out of town, and they will be adding to it too.

November  21, Deviled eggs.. One of my favorite things for Thanksgiving sides! Of course I cooked all 39 eggs in my 8-qt Instant Pot Lux. I really do love my instant pots! This is the last day of week 3. What did I do? I steamed up 39 eggs for the deviled eggs.
Mary's Deviled Eggs
24 hard boiled eggs, completely cold
1 tsp salt
2 tsp dry mustard
1 tsp ground black pepper
sweet or dill relish or pickle juice, cold
12 TBS (3/4 cup) mayo, cold
paprika

Cut eggs in half lenghtwise, and place yolks into bowl, and whites on plates. Mash up yolks, then add other ingredients. Pickle amounts and type depend on your taste. Whip until smooth or blended. Put into whites of eggs; sprinkle or garnish with paprika. Cover and refrigerate until ready to serve.
Makes 48 halves


Thursday, November 8, 2018

Crock Pot or Instant Pot Challenge WEEK #2

Today marks the first day of week 2, November 8 to 14th. I am so excited, making my first butternut squash soup with a butternut from my garden! It smells great, dinner in in about an hour. I am going to throw some rolls in the oven to have with it, because soups need something dipped in them. I got this recipe from Taste of Home. I got the recipe out of a TOH book, and didn't know the reviews, but it smells good, and the little guy might like a cinnamon soup. Here is a sad picture of it cooking.
 So here is the Butternut Squash Bisque.
So I pureed the soup. That's what you do with bisque. BUT let me tell you my changes first. I followed the recipe, but honestly, the cooking in OJ in oven is a waste. LEAVE out the OJ and brown sugar. The apples add plenty of sweetness. I also added 2 tablespoons of short grain rice to the crock pot after I took the picture above, to thicken it a little, and give it a better mouth feel. I also added half a pint of home canned cannellini beans that I drained and rinsed to add some protein to the soup.
 THIS SOUP WAS WAY TOO SWEET!!!  Trust me, leave out the OJ and brown sugar. Don't bother roasting the squash in the oven first. DO NOT use 1/2 cup butter, it was too much. I doubled this and still only used 1/2 cup butter for the onions and it was too much.
The rice helped with the mouth feel, and the beans kind of toned down the sweetness. I might make this again, with changes. BUT I don't know. The cousin thought it was a warm dessert soup.

November 11th: Veterans Day..While in the morning I somberly remembered my Grandfathers, and their brothers who have served. I also remember our Angel girl.. who fought a different war, a war against Medical Discrimination and Gene Discrimination. Although I think of her daily, I was a wreck most of the morning.
Today we used our instant pot to "bake" potatoes. Then the piper mashed them and made "his special recipe" for garlic mash. They were delicious!

November 12th: BONE BROTH.. I make bone broth almost weekly, this time I accidently made it with too much water. I am used to having bones from 2 chickens in the pot, not one.. So I messed up. Owell, I just won't have to dilute it before using it. I got 4 quarts total, normally I get 4 quarts from 2 birds.
For dinner tonight I pulled some chili from the freezer that I made in the instant pot last month. Threw that and some shredded cheddar in some tortillas and fried them up in butter, DELICIOUS.

November 14th: LAST day of week #2, and wow Guess what I did??? I messed up!!  I forgot to read both sides of my recipe card.. So I tripled my recipe for Chili but... ok, so I tripled the meat, but I have to multiply everything else by 6 !! WOOPS  So ya..

I love this chili recipe. It is so yummy. I got this recipe from my sister, and I doctored it up a little. Hands down our families favorite chili, and we eat a lot of chilis.
Can you smell this? OMGoodness my mouth is watering.. I almost said my watering mouth.. either way.. let me wipe the drool off my chin. We usually top this yumminess with some shredded cheddar. The little one likes a little sour cream too as he doesn't like spice (except buffalo wings).
BEST CHILI EVER 
2 tablespoons bacon grease or oil
1/2 cup water
1 pound ground meat (beef, chicken, turkey or pork, whatever you like)
1 cup chopped onion (I use 1 whole small or medium)
2 poblano peppers, roasted, peeled and seeded
1 1/2 teaspoons salt
2 teaspoons cumin
4 teaspoons chili powder
1/2 teaspoon oregano
4 to 6 cloves garlic, minced (the more the merrier for us!)
2 - 15 ounce cans tomato sauce (or 1 - 29 ounce can)
2 - 16 ounce cans beans (pinto, cannellini, black, garbanzo, whatever you like)
2 cups bone broth, stock or water

Heat oil and water in a stockpot a minute. Gently cook meat with onion until no longer pink, and water has mostly boiled off. While meat is cooking, add prepared poblano and broth to blender, and blend to almost smooth. If you don't have a garlic press, then add to blender.  Add spices to meat and let warm for 2 minutes, then add the rest of ingredients. Bring to a boil, lower heat, partially cover pan and simmer 45 minutes. Makes about 3 to 4 quarts
CROCK POT: Follow directions above until you have warmed spices. While meat is cooking, place beans, tomato sauce, 2 prepared poblanos and broth mix, garlic, oregano if you didn't put in with meat. When meat is done, add to crock pot, give a stir. Cook on HIGH 3 to 4 hours, Low 4 to 6 hours. 

We also use this chili for making quesadillas: tortillas, chili and cheese.
We put chili on half the tortilla, top with cheese, fold empty side over the cheese and fry in butter on each side until golden brown.. My FAVORITE meal growing up.

It's dinner time!!!!!


Thursday, November 1, 2018

Crock pot OR Instant Pot Challenge Week #1

Today is the first of the month, and this week's challenge runs from November 1 - 7. Let the sharing begin, and the eating, and getting those dusty recipes out you wanted to try but haven't. You don't have to do it everyday, but try to get one done at least once a week. I will post my pictures and recipes for this week here, after I make them. I kind of have a menu plan, but it doesn't mean I stick to it.

November 1st: Spaghetti Sauce


2 TBS of olive oil, bacon grease or butter
2 bay leaves
1medium onion, chopped
1 tsp. dried oregano
1 tsp dried basil
1 tsp italian seasoning
1 tsp salt
2 cloves garlic, minced
6 oz. can tomato paste
2 - 16 oz. cans tomato sauce
28 oz. can diced tomatoes
1 to 2 palmfuls of sugar

Caramelize onions in fat over med-low heat. Then stir in garlic to cook until fragrant, about 1 minute. . Add everything to crock pot, stir and cook on high 3 hours or low 6 hours. Or simmer on low for 1.5 hours in stock pot on stove.

I will brown up some hamburger or other ground meat and add a palmful of italian seasoning to it while it browns in a little water. When meat is cooked through I add a few ladles of finished sauce to desired consistency for spaghetti and sauce, or lasagna in a bun or pizza.

***I usually double the recipe and use a #10 can of tomato sauce instead of the other tomato products. Regular recipe uses 66 oz of tomato product, a #10 can is 105 to 110 oz. of tomato sauce. Still comes out good.

November 3rd: APPLESAUCE
The one on the right has cinnamon on it, the other one is plain, for now. I did applesauce back in 2012 too. Hubby bought a bushel of apples last week, and they were not crisp or juicy. So I decided to make applesauce with them. I peeled, quartered, cored, and then put the apples through the vidalia chop wizard, the BIG dice. And filled two 5-qt crock pots. Added a few splashes of lemon juice, then added cinnamon. I love the flavor of cinnamon in my applesauce. These will cook on low all night, and I will Water Bath Can (WBC) them in the morning, most likely in pints.
If you click on the title for this date, it will take you to my post about applesauce.

November 4th: EGGS, Carne Asada and "Mud" ! !

I LOVE how hard boiled eggs come out in the instant pot. They peel easily, and so simple. I prefer using large eggs, and I just put 1 cup of cold water into the inner pot, put in a flying saucer.
This is a flying saucer, aka steamer.
So put this shiny flying saucer into the inner liner of the instant pot.Add at least 1 cup of water.


Now it is ready for your eggs. I put in 18 large eggs today. These are not farm fresh eggs, although we all prefer those. Put the lid on, seal, and set to STEAM for 3 minutes. Then let natural pressure release for 10 minutes. I then take off the lid and plunge into ice water to stop the cooking.


My little guy likes to help in the kitchen, he was making sure all the eggs were under the ice.


They were, and once they were cold, we dried them, placed them in a plastic bag and put into the fridge.. I did snitch a hot egg, so yummy with a touch of salt.
If you do FRESH farm eggs from heavy breeds, then steam for 4 minutes. If they are bantam eggs, then steam for 2 or 3 minutes. I am not really sure, as I didn't have any bantam eggs when I had the instant pot. Duck eggs are a minimum of 4 minutes, possible 5 it really depends on how large they are. 

Next I had put some Carne Asada into my other instant pot. I am not sure which recipe I used, I found it in a google search, but it used juice from one orange, one lime and one lemon, and some chili powders, onion, garlic... It was not well received. We so wanted it to be yummy, but instead it just tasted like beef that was acid cooked, and the texture was just off. We still ate it as beef is $$$, but not a recipe we will be keeping.This is what was left.

After the eggs were done, I quickly used that instant pot again to make a "mud" cake. Again, not impressed, so not sharing the recipe. It was tough, too sweet yet bland, and blah. Nobody really liked it, and we all love a true mud cake.
Here it is, the "mud" in the instant pot before I put the lid on.  Next I put the lid on and cooked it for the 25 minutes on manual.

When it was fresh out it was softer, but looked rubbery. We let it sit a few minutes as it was so very hot.
We served the "mud" with some ice cream, as it needed it, but what I think it really needed was just some half and half. Again, NOT IMPRESSED. We will stick with the crock pot mud, that we love.
All in all this Sunday dinner was... not to be repeated. EVER.

November 6th: Loaded Southwestern Roasted Cauliflower Bisque

Honestly, when this was done I did not like the smell. But I took that first bite, and WOW, YUMMY.
If you click on the name, it is a link to the recipe. I am so glad I found this, it was good.
My changes. I used my Saratoga Jack Thermal Cooker, and made this at lunch time. Then at dinner time, heated up a little more, and pureed, then stirred in sour cream as I did not have half and half or heavy cream.

My girls and my little man did not love this. But they ate it. Everyone older than 18 had more than one bowl. It was yummy. And I am having the leftovers for lunches..

November 7th: More hard boiled eggs in the instant pot.
Tomorrow is the beginning of a new week!!

Friday, October 26, 2018

25 pounds of onions!!!

So I requested my dear hubby to please pick up some keeper onions so I could dry them. Why??? I like using dehydrated onions for crock pot cooking: soups, broths, stews and such. So much easier, even more so when I have to hurry out the door, but want yumminess for dinner.


Well, these are not keeper onions, they are white or yellow onions, and they are HOT. Like your eyes are burning for days after peeling them. Not to mention the tears, and your nose running. These were super super hot. I didn't know this, and I gave 5 of them to my neighbor. After I pulled 20 in to my kitchen and cut them up with a knife, I realized.. HOLY CRAP these are hot! This took me 45 to an hour!! When I was done getting 5 dehydrator trays full, I ran to the bathroom and washed my face and eyes 4 times!! Then had to go back a half an hour later as my eyes were tearing so bad. I looked like I was super upset and crying all day!  I let those bad boys dry for 48 hours!!

EPIPHANY!!!

ALL of a sudden, I remembered my sister had given me an Vidalia Chop Wizard!!! I had emptied my dehydrator trays the night before. So this next morning, I pulled out my VCW, peeled my onions, cut off the bottoms and tops, cut down the middle from top to bottom, a couple I put on the chopper the wrong way and got bigger slices. But that's ok, I don't care really because I got my cookie sheet full of onions chopped in 10 minutes!! Five full dehydrator trays, less tears, still had to wash my face, but way less tears and snot. This thing was slick!


And my little guy was happier too, as the onions were so hot he had to go outside to breath! Well needless to say, you did not want to go into my garage that first 4 hours after I turned on the dehydrator, in fact not within 24 hours!


This is what a full tray looked like, sorry for the sun glare on the counter. These ones I cut the long way, you were supposed to put it on the chopper so you get a big mince. But I put it on bottom to top, instead of sideways, and got long onions.. Ok for stew! The time saver of the VCW was worth it either way!

I decided because I had so many onions, and carrots and some celery,  to chop up some Mirepoix to have in my freezer, so I can just grab and dump. the VCW does not like to do small dice on carrots.. But here it is.


I also decided to cook 2 cups of it up so that I could puree it, and freeze in ice cube trays and have it ready to throw into stuff when I need some deeper flavor.


Ice cube trays are great for freezing pureed foods, but also for freezing fresh minced herbs in broth or water. Then you can preserve them and add them to anything, and get that fresh taste.


So Here is the full dehydrator after enough hours I could handle going into the garage, but the onions were not done, although they darkened, they were still moist.


Ever wonder how to store your dehydrated foods? In a dark cool area, in sealed jars. If you live in a humid area, you may need to invest in a jar sealer. Mine just broke, dang it, but I loved it while it lasted for 18 years!
Who knew 22 pounds of onions could fit in 4 quart jars and 1 pint jar?! So much less space. These smell amazing dry by the way. I hope they are not super hot when I use them to cook. So glad to have these onions done, and so very thankful to my sister for her Christmas gift last year. I have used it for a few things, but let me tell you, I will be using this much more often! LOVE IT!


Thursday, February 12, 2015

Amazing little GF muffins

I accidently found this recipe this morning. I now have so many food restrictions that it is getting more difficult to find fun things to eat. this little gem is flour free! Can be made sugar free! The texture is like a light fluffy muffin! Love it. Unfortunately this is not a nut free recipe. But there are so many options out there for nut and seed butters. No, you may not use cow butter or ghee. Sorry.

I found this amazing recipe over at Whole Lifestyle Nutrition. A great site for those looking for better options. I will post the recipe as is posted on the site, then put in my changes at the end. I highly recommend you visit the site, lots of great stuff over there.


Prep Time: 5 minutes
Cook Time: 15 minutes
Yield: 12 muffins or 24 mini muffins
Serving Size: 1 regular muffin or 2 mini muffins
Recipe adapted from The Sweet Spot
Ingredients
  • 1 cup nut butter - you can buy nut butters here
  • 2 medium sized bananas (The more ripe, the sweeter!)
  • 2 large eggs 
  • 1 teaspoon vanilla (try making your own!)
  • 2 tablespoons of raw honey(or other sweeteners such as maple syrup, stevia, etc.)
  • ½ teaspoon baking soda
  • 1 teaspoon apple cider vinegar
  • Toppings: dehydrated unsweetened coconut flakes, raisins, flaxseed, dark chocolate chips, cinnamon, and/or anything else you can think of. I added even more tupelo honey ;) Feel free to lather on apple butter, strawberry preserves, or even more peanut butter. Ever heard of carrot jam? It's very tasty with this snack, too!
Instructions
  1. Preheat oven to 400 degrees F.
  2. Place all ingredients into a blender or food processor. You can also use a stick blender if you have one.
  3. Blend until well mixed.
  4. Pour batter into a greased muffin tin. You can also use a mini muffin tin to make 24 mini muffins.
  5. Add additional toppings of your choice to each muffin and lightly stir into each cup
  6. Cook time: 15 minutes for full size muffins and 10 minutes for mini muffins.
  7. Reheat in a toaster oven for about 4 minutes at 350 degrees F, or eat at room temperature.
Notes: I first made this in a half batch. I used half almond and have peanut butter. I used 1 1/2 TBS RAW honey, and I added 1/4 cup mini gf chocolate chips. I also used my stick blender to blend them.

What I would do next time: use a riper banana (mostly brown almost black), only use peanut butter. Taste the batter and check for sweetness.. maybe use a little more honey, but using a riper banana will help with sweetness as well.

The texture was NOT rubbery, was NOT dense, WAS light and fluffy, like a normal muffin.

This one is being printed and being put into my GF recipe file.

Definetly also check out Averie Cooks  These little GF puffs look very promising, although not dairy free, I am wondering if they can be made with a dairy free alternative. Like dairy free sour cream (for those who are DF). 
 

Tuesday, April 29, 2014

The GLUTEN FREE dilemna

Going gluten free is not the easiest thing to do. It is just unimaginable where you will find wheat and gluten! We are also corn free here, so we have already been avoiding that (and that is also unreal!).

At first when you have to eliminate something from your diet, all you can think of is that which you can no longer have. With corn you think of all those "wonderful" processed foods like cookies, chips, frozen junk etc.. Well with gluten/wheat it's bread. Candy. Cookies. Gravy. Some sausages. Donuts. Muffins. Bread. Buns. Croissants. Spaghetti. Mac and cheese. Bread. Gravy. Pizza. Sauces. Bread. Vanilla extract. Gravy. Some alcohols like beer, some rum, some vodka, some whiskey (IF you drink or make your own tinctures, medicines, or Vanilla).

Do you see what I mean? Do you see what you are missing? I used to make bread almost everyday. But since our last blessing was born I have had to be very dutiful in being GF. Why? Because not only do I react to it, but so does the baby. What am I missing? Nausea, stomach cramps, debilitating migraines, vomiting, acid reflux, itchy skin, abdominal pain that made me double over. Am I really missing anything? I think not.

I am learning to make things GF. Muffins come out reasonably good. Cookies, no problem. pizza..um.. not quite yet. Which is a bummer because Christmas 2013 I perfected my pizza crust recipe and it was AMAZING! So now I am working on perfecting a GF pizza dough recipe.

As for pasta, well, I am not really missing it. I use rice pasta. We tried buckwheat pasta, but it has a very strong distinct flavor. Quinoa pasta is hard to find not mixed with corn or soy. But to replace pasta, I just use rice pasta. Peaches likes hers with quite a bit of chew to it, so we don't cook it as long as directed. But really, I only miss lasagna and spaghetti.. but not really because I can use rice pasta or spaghetti squash.

If you look for what you CAN eat when on a special diet, the whole food world opens up. Here in Washington, so many people are gluten free it is awesome! Restaurants are being more and more accommodating. One of our favorite places to go will wrap your burger in lettuce or use a GF bun. They also inform you that their fries are NOT GF, AND neither is their guacamole :(  Which means their guacamole comes premade (yuck), honestly it isn't that hard to make!

So what can a GF person eat? Well for starters pretty much all of the produce department is GF. Same with most of the meat department, minus some sausages and seasoned meats. Some of the dairy department is also GF.

A great way to have organic free produce is to grow it yourself. Lettuce grows easily, so do snap peas, zucchini, cucumber, strawberries, onions, garlic, tomatoes (if you have a very sunny warm place), pumpkins, butternut squash, spaghetti squash, beets, spinach, kale, chard, collards... really you pay a little for some seed or starts and you have a plethora of veg and fruit for summer.. and you can freeze the extras! Or can them. Or dehydrate them..

So going with out.. You aren't really going with out. Feeling better is so worth it!

Friday, March 29, 2013

Chocolate Pots De Creme

Yes it is a dessert. But do you know how hard it is to find a dessert that is CF, GF, DF,  & SF that isn't just cut up fruit????? Super difficult! You can use any milk, any sweetener, and any extract you desire. Sorry, no picture, I have made this twice this week, and it just disappears too quickly!

Chocolate Pots De Creme
2/3 cup semisweet chocolate chips*
1 cup half and half **
2 eggs***
3 tablespoons sugar ****
2 tablespoons rum*****
dash of salt

Heat oven to 350 degrees. Heat chocolate chips and half and half, stir until melted and combined. Take off heat. Cool slightly. Beat remaining ingredients. Gradually stir into chocolate mixture. Pour through a fine strainer into four 6-ounce custard cups or a corning ware dish.
Place cups or corning ware dish in pan on oven rack. Pour boiling water into pan to with in 1/2-inch of tops of cups. Bake 20 minutes for cups and 25 to 30 minutes for corning ware dish. Cool slightly. Cover and refrigerate at least 4 hours. Serves 4

*we used GF, CF, SF, DF semisweet chocolate, or dark baking chocolate (we prefer dark chocolate, for flavor and health benefits)
**I have used half and half, whole cow milk, coconut milk, almond coconut milk..
***we used organic farm fresh eggs (our own)
****I have used sugar, honey, and agave nectar.  I prefer honey. If using honey or agave nectar only use half as much as called for in recipe
*****NO rum here. But I have used a tablespoon of GF, CF REAL vanilla extract, GF/CF almond extract (1/2 tsp and then the rest vanilla)

This recipes is super easy to make, super easy to make dietary restrictions work in. ALL my kids love it. NO I do not refrigerate it for 4 hours. I let it cool 20 minutes, then stick it in the freezer for 20 minutes, and whalaa, yumminess.. if I can keep the kids out of it that long.  Yes I do strain it so there are no chewy egg chunks, which happens when the eggs curdle.. yuck.. But it still tastes good.